Retropie Raspberry Pi 4 is the latest version of a mini computer designed for playing retro games. You can play literally any game you like and you can find them at Gamulator.
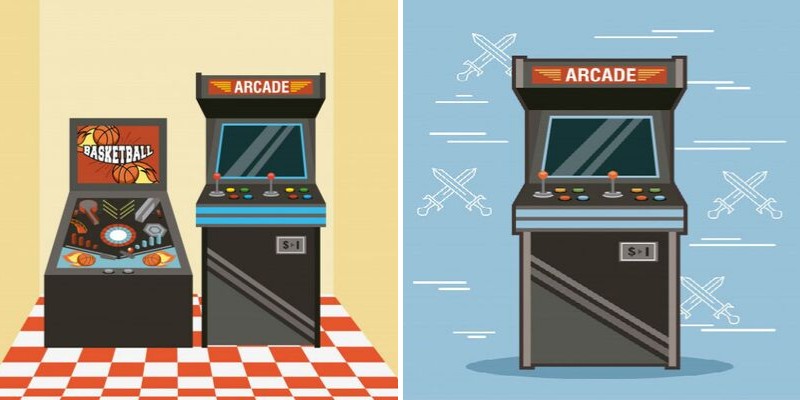
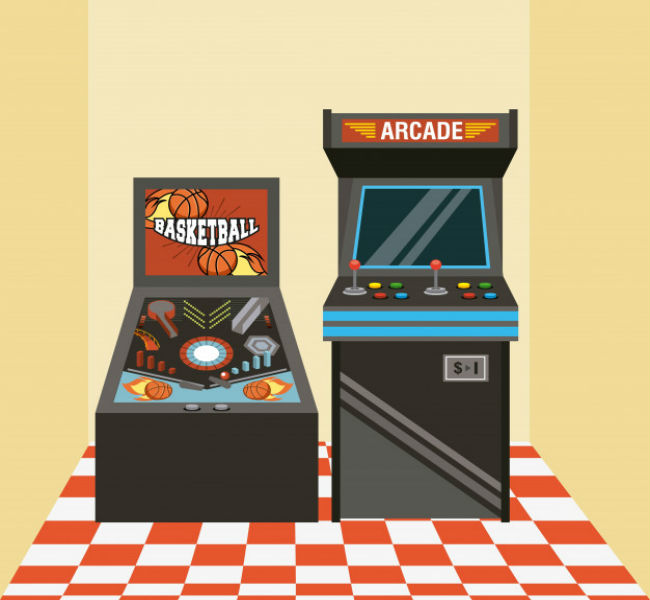
Here we will help you make a retro arcade cabinet that is the same as the one you were able to use in the 80s in the actual arcade. Follow the steps and you will get the desired effect.
You will need:
- Retropie Raspberry Pi 4
- 8 GB memory card or larger
- TV monitor
- USB controllers
- Cabinet
- USB keyboard
- Small USB power supply
- PC
Here are the steps to follow:
#1 Install the emulators
Insert a memory card into PC and extract the suitable RetroPie project on the memory card. If you use Windows, you can get a job done with the help of Win32DiskImager.
Mac computers require an equivalent software called RPI-SD card builder. Once done, remove the memory card and insert it into the Retropie Raspberry Pi 4.
#2 Connect the pieces
Attach the TV to a cabinet, connect the Retropie Raspberry Pi 4 and the keyboards. You can attach the power supply as well at this point. In addition, add the joypads to the system. Insert the memory card to the system.
#3 Turn everything on
Turn the system on and you will see a boot menu that opens Emulator Station. This is precisely what you need. Here you will have to configure controllers precisely as you want.
The older version of Pi 3 was a bit complicated but the new version is very easy. Keep in mind that the process is activated in the same way regardless of the version you use.
#4 Activate Wi-Fi
Now you can go to the settings menu and select Wi-Fi. Enter the password and you are ready to connect to the internet.
As you would expect the possibilities are endless at this point. To enter the menu press A on your controller. You will have to use the keyboard to enter the password.
The keyboard should be located inside a cabinet so it is invisible but there when you need it. The best alternative is to add a sliding keyboard. Pull it out when needed and remove it when you don’t want to use it.
#5 Transfer the games to the system
You can make a network folder and use the Wi-Fi connection to access it and open the games you want to play. There is one major issue with this task. It is complicated, it won’t be useful in most cases and there are a lot of additional issues you may encounter. There is a better way, an easy way.
Get a thumb drive and transfer the games to retropie folder. Plug it into the arcade you have created and your games are ready to be played.
This is the simplest method possible and there are no issues or limitations. You can find an old thumb drive and use it for a couple of games or you can get a massive, new unit and store thousands of games there. It is up to you.
#6 Enjoy
The last step is also the best. All you can do at the moment is to enjoy playing some of the best and the most iconic games of all times.
We can add the facts you can make the arcade look better and more appealing. Add bezel around the TV to get the look of the actual arcade.
You can make them from black plastic or purchase new units online. If you want to make it even better, install LEDs all around the arcade. You will probably have a great time and you will want to play games more than ever before.
The final words
All of these steps are simple and you won’t need more than a few hours of your time to get the job done. Keep in mind that you should have fun making the arcade and these steps are here to help you.
Be free to experiment and make any adjustments you like. It is relatively simple to make a high-end console that will cost you under $50 but offer impressive capabilities. Who knows, you can even sell it and make a profit.
Leave a Reply