No matter how much today we fancy using our social media account, accessible and format-friendly emails are going to be what cracks the market in the near future. And being one of the iPhone fan boys, I always end up coming back to the stock iOS Mail app despite of trying other email apps.
I mean one cannot ignore those shortcuts and gestures featured by the mailing app making things more intuitive.
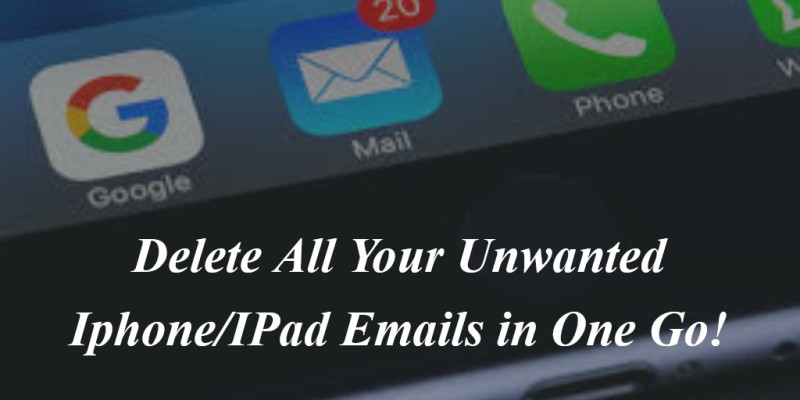
Now it doesn’t matter if you keep your mailbox meticulously clean or leave thousands of unread messages lying there, it is very crucial for one to delete all of those emails at one point or another.
And that’s where our issue arises, deleting an entire bunch of multiple emails in one go. There is no denying in the fact that Apple does a tremendous job in organizing and storing emails, but in recent versions of iOS, the company has made it a bit harder to delete multiple emails at a time.
Earlier in iOS 9, the ability to Trash All — delete all emails in an inbox in just a few taps. But in iOS 10, iOS 11 and newer versions of the mobile operating system, this option has disappeared. So, what can be done?
Further below, I would like to mention a perfect way of deleting ALL emails at once without jail breaking your iPhone or iPad. It took me weeks of research to figure out how to decode this yet another secretive secret of apple. So, here it is:
Step #1- Filter
Go to any folder you wish to purge of unread emails from the mailboxes view. It can be anything from a default folder for each account like “inbox” or “archive” or a folder you made yourself.
Once you get in there, decide whether you need to get rid of everything or not. If yes then you don’t need to filter it all but if no, then you require to be more selective, tap on the three-line filter icon in the lower left, where you can weed out your inbox by selecting either “Unread” or “Flagged” from the Include section.
In addition to this, you can select “To Me” and “Cc: Me” under Addresses. Any filter or combination of filters on the page will work. In my example, we’ll just be deleting all unread emails from the folder.
Step #2- Save Wanted emails
The very next thing to do inline is to check to see if there are any emails you wish to keep. So what exactly you have to do is scroll through the filtered view to make sure you won’t be deleting something important. If you find anything you don’t want to delete, there are multiple things you can do, such as:
- Move to another folder- Select the email, tap the folder button at the bottom, and move it to a different mailbox. By doing this, the next email in line will automatically get marked as read since it will show it, so make sure you mark it as unread before continuing any further. Tap “Edit” in the top right of the folder view, select all the emails you want to keep, then tap “Move” and select the appropriate folder.
- Mark as read- If there is one email then it won’t be much of a problem but if there are multiple emails then tap edit in the top right of the folder view instead, select all the emails you want to save, then tap “Mark” and “Mark as Read.” Then, since they don’t disappear from the filtered list like they do when moving to another folder, you’ll need to tap the filter button in the bottom left to exit the filter, then tap it again to go back into the filtered view.
Step #3- Bulk delete
Once you are sure that only unwanted emails are left; it’s time for you to proceed. So go ahead and tap again on “edit” select just one email by tapping the circle to the left of it. And here the magic begins.
Tap-and-hold the “Move” button at the bottom, but don’t let go just yet. Next, tap to deselect the email you highlighted, then you can release your finger from the “Move” button.
This will cause all emails in the filtered view to be selected at once, so tap “Trash” on the next screen to delete them all. You can tap the filter button again the folder view to see what’s left.
In case, you think you may end up deleting an important email; you can still go to your trash bin and give it one final look before the emails are permanently deleted. You could also wait until they auto-delete if enabled, which could be after one day, one week, or one month.
So that’s all for now! Keep watching the space to get a better perspective!
Author Bio:
Kibo Hutchinson working as a Technology Analyst at Tatvsoft UK which is an iPhone app development company in London. She has a keen interest in learning the latest practices of development so she is spending her most of the time on the Internet navigating the unique topics and technology trends.
Is it possible to delete all your emails, EXCEPT FLAGGED, on an iPhone 11?
One suggestion is to move the Flagged emails to another folder and then delete all the rest.