All of us have been there. Everybody has had photos on their phone that they needed to transfer to their personal computers.
There could be many reasons behind this. You might just find working on a computer to be more convenient, or there can be occasions when you need these files transferred for storage while your phone’s memory is running low.
Whatever the reason may be, you cannot let yourself be dependent on a USB cable to transfer photos. I mean, who really carries that around all the time anymore?
Instead, it is important to know the different methods by which we can send pictures from our phone to the computer without using a USB cable.
Of course, you can always use your email, Google Photos, or even an SD card to transfer photos from your phone to a computer.
However, you might realize that the following methods of sending them wirelessly from your phone to your computer without using USB are quicker and more convenient.
1. Adding Your Phone to Windows 10 or 11
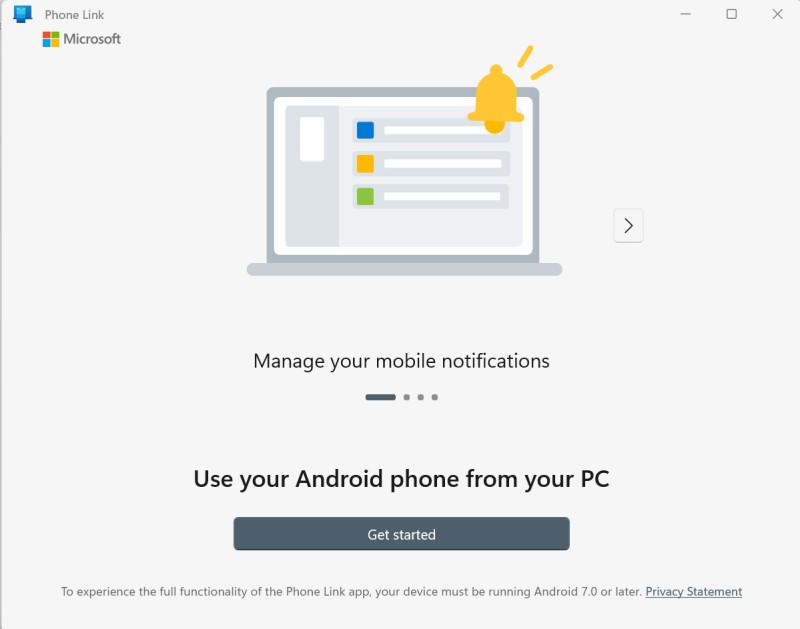
For Android users, Microsoft has an in-built app known as “Phone Link”, which allows you to connect your phone to your computer wirelessly. To do this, follow these simple steps:
- In Windows 10 or 11, search for “Phone Link” app and click on it.
- You will be prompted to get started connecting your Android phone to your PC.
- The next screen will prompt you to visit the URL aka.ms/yourpc on your Android device.
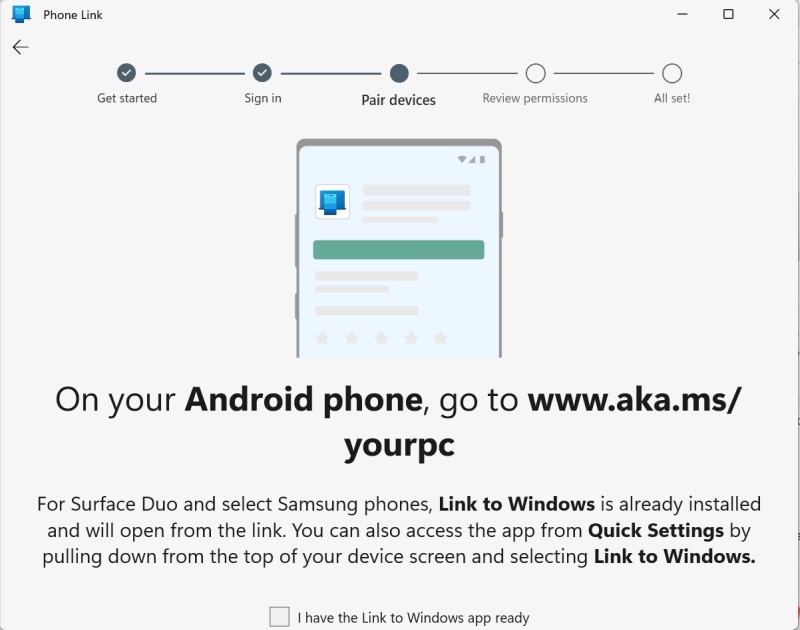
- The link above will take you to Google play store in order to download the “Link to Windows” app to your phone.
- Next, you will have to Install the above app on your Android phone and tab to start it.
- On your Windows PC, enable the option “I have the Link to Windows app ready” and then click on Pair with QR code:

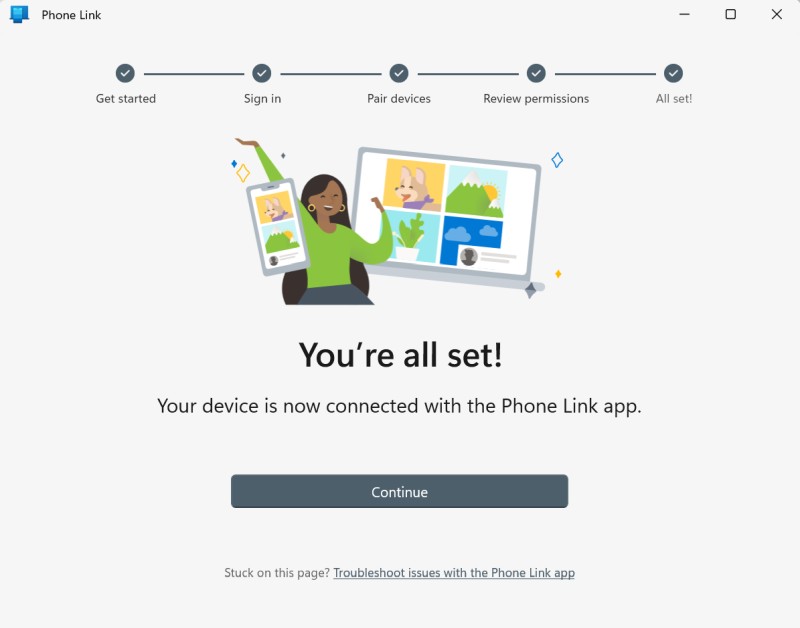
- On your Android App, click “Link your phone and PC” and scan the QR code shown on your PC to connect your phone to your PC.
- The app will ask you for various permissions. One of these permissions is to allow access from your PC to your Photos.
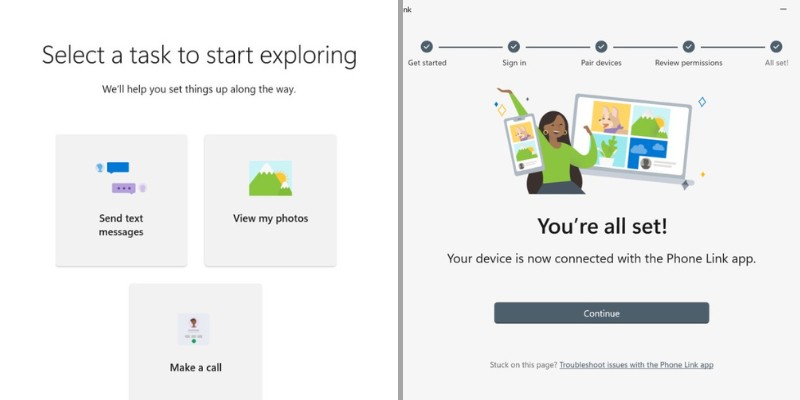
- After doing all the above steps, your Android phone will be connected to your PC.
- As shown below, one of the options is to access your Android Photos from your PC in addition to making calls, sending SMS etc.

2. Using A Photo Transfer App
The above “Photo Transfer” app enables you to wirelessly transfer images from your iPhone or Android device to your computer.
You can send up to 10 photographs at once while using the mobile app’s free edition. The paid edition adds extra features, including full-resolution transfers and no transfer caps, for $6.99.
- Install the app on your phone, then upload photographs to your computer via the new window that will open.
- Click the Send button after opening the app on your phone.
- There are other alternatives for sending photos, but try the one that uses Wi-Fi.
- Tap the Windows icon if you’re using a Windows computer.
- You are instructed to use your online browser or the Photo Transfer App on the next screen.
Installing the free Windows or Mac version of the software on your computer would be a smart idea if you intend to use it frequently because it is simpler to use than the website.
- Select your phone after opening the app on your computer and clicking the Discover Devices
- To start the transfer, choose either Wi-Fi or Bluetooth.
- Give the connection permission on your phone.
- The app on your PC should display the picture albums on your phone.
Your photo gallery is now accessible. A specific photo may be downloaded to your computer, deleted from your phone, or both downloaded and deleted by using the right-click menu. Additionally, you have the option to download or delete many photographs at once.
3. Using The Wi-Fi Photo Transfer App
This app can be used by people who have iPhones and are looking to transfer their photos wirelessly.
In order to browse and download images from your phone, the free Wi-Fi Photo Transfer app creates a local web page on your network.
- Open the corresponding app on your phone, then type the URL shown on the screen into the desktop browser.
- The page displays all of your phone’s picture libraries, with the most recent images at the top.
- To view all of your most recent pictures, click the Recent
- Select Download in.zip from the menu.
- Click the Download Selected Pictures button after selecting one or more images.
- You may unzip the single zip file containing the photographs on your PC after they have been downloaded.
4. Transferring via Bluetooth
Bluetooth can transfer your photos, even if it might not be the fastest method for doing so without a USB cable from an Android device to a PC.
While we may experiment with various software and apps, which occasionally fall short of our expectations, Bluetooth is always there to save the day. Here’s how to send photos through Bluetooth from an Android phone to a PC:
- On your Android smartphone, go to Settings and choose Bluetooth.
- Turn on Bluetooth to make sure your Android smartphone can be detected on your PC.
- Select Settings from the Start menu
- Go to Bluetooth in Settings. The list of phones found using the phone search tool will include your Android smartphone.
- Select your Android phone to link the two devices.
- On both your Android smartphone and PC, a passcode will be shown. Make sure all of the passcodes are the same.
- Press OK on your Android phone and Connect on your PC to continue.
- The devices are now connected.
- Next, go to Send Or Receive Files using Bluetooth on your PC.
- Click Receive files after navigating there.
- Then, select Bluetooth after selecting Share for a file on your Android phone.
- Select your PC to transfer files.
- Your computer will successfully receive the file. Click Browse to change the file’s default save location.
- To save the file to your computer, click on Finish.
Conclusion
So here we have four of the best ways to transfer photos from your phone to your PC without having to use a USB. Try out all of these methods and decide which one suits you the best. Once it becomes your go-to method, you will never need to carry a USB around for this job ever again!
Leave a Reply