It is very annoying when your computer or laptop keeps locking itself after a few minutes. You will be away from your computer for a few minutes and the thing will just lock itself, so you constantly have to unlock it.
Computer locking is a usual security procedure that the companies follow but for a personal computer it causes discomfort and loss of productivity when seeing your screen locked every few minutes.
To prevent your computer from auto-locking itself there are a few ways to fix it.
We will deep dive into those methods right away without wasting much time.
Let’s see how to stop your Windows computer from locking first.
How to Stop a Windows Computer from Locking
Tweaking The Sign-in Settings
If you have configured a setting that requires your computer to sign in with a password every time it sleeps or goes into screen-saver mode, then you just need to turn that setting off. To turn the sign-in setting off you will have to follow a few steps.
- Go to the Settings app on your computer
- Once opened, select the Accounts option
- Select the sign-in options as shown below

- There will be a setting about whether the Windows machine will require you to sign-in when you’ve been away. Select the Never option from the list and you are good to go. The following screen is from a Windows 11 computer:

Tweaking The Screen Saver Settings
- Go to Settings > Personalization and select the Lock screen setting:

- There will be a screen saver setting (see below):

- Click on the screen saver tab. Once you open that, you will see a new window as shown below.
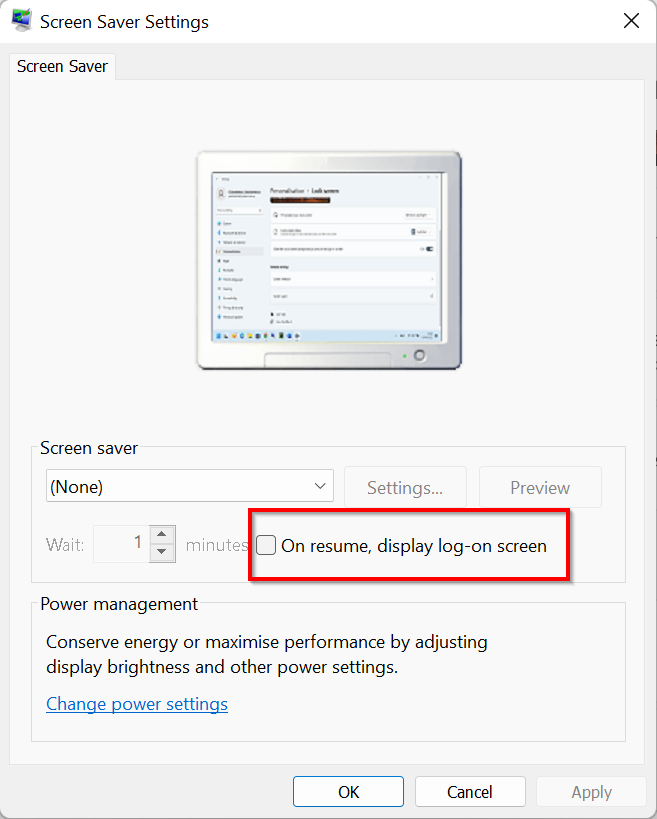
- You will see a checkbox that reads – “On resume, display log-on screen” as shown above. Untick that box if there is already selected and if there isn’t then leave it as is. That way you won’t have to see the log-on screen when you wake up the computer
- In the drop-down menu of screen-saver, you can simply select “none” which will permanently disable the screen saver.
Turning Off The Screen Timeout Settings
Another method to prevent computer from locking is to disable the computer’s screen from going to sleep mode.
You have to follow a few steps to turn off the sleep settings.
- Go to Settings > Personalization > Lock Screen
- Once opened, choose the Screen Timeout option

- Choose Screen and Sleep option

Select “Never” at all settings:
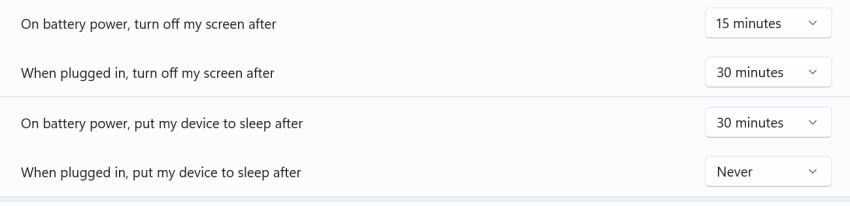
Of course, you can also choose a longer time-out option instead of turning off the feature completely. That is your personal choice.
The Advanced Option (System Unattended Sleep Time-out)
For whatever reason, if you still cannot turn off the auto-lock feature from the above settings then there is an advanced and more involved method to turn off the auto-lock feature.
System unattended sleep timeout is a more advanced way to turn off the auto-lock/sleep feature and it is not accessible through the basic settings page. Let’s take a look at it in a detailed step-by-step way.
- Go to the taskbar, search and open the Control Panel
- Select the Hardware and Sound option
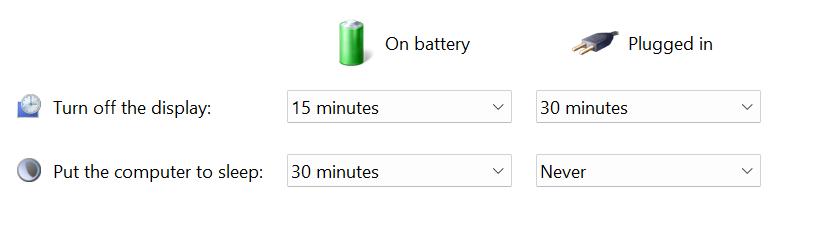
- In the Hardware and Sound option, select the Power options then choose “Change When the computer sleeps”
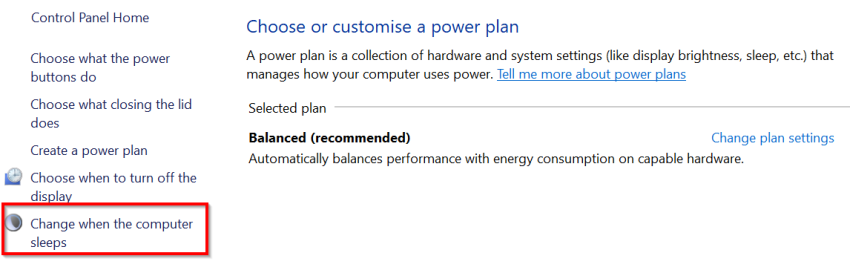
- Here you can change when the computer sleeps and select “Never” to all settings
How to Stop an Apple MAC Computer from Locking
Now the above functions were for Windows computers, now we will delve into the Apple conundrum. Use the below method to extend the locking period for your Apple computer (iMac).
- Click on the Apple icon on the top left corner of your screen
- Select or click on System preferences
- Click on Security and privacy icon
- Click on the General tab
- Once inside the General tab, you can increase or decrease the duration of your lock screen timeout.
The other option is to click on the Apple icon, select the Battery option, and then there is a notch which you can slide to Never, which means the screen will not go to sleep even if you leave it as it is for hours.
Conclusion
Both Windows and Apple have the options to stop your computer from auto-locking and we have looked at both methods in detail. You can put a longer time limit until the screen saver kicks-in or you can turn it off altogether. It is your personal choice after all.
Leave a Reply