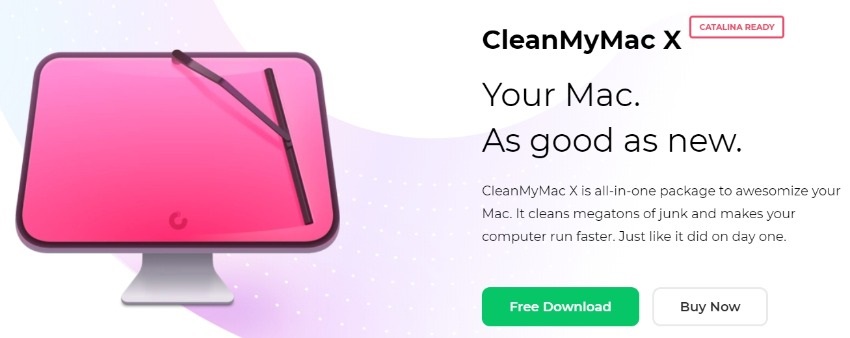
Your Mac computer is similar to your living space – both can become cluttered and unpleasant to deal with if they’re not cleaned regularly! In this article I have prepared a review of CleanMyMac-X which is a Mac optimization tool to help you out with making your system fast again. One of the most common […]
10 Best Alternatives to Teamviewer For Computer Remote Control (Free&Paid)
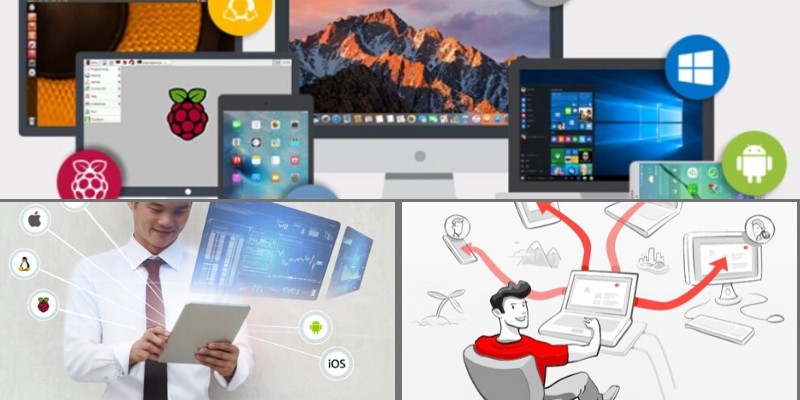
TeamViewer is a great piece of software that allows for remote control of a desktop environment, easy conferencing via the web, file transfers, and desktop sharing. In the IT environment, it is an indispensable tool that makes remote help desk support easy. Of course, there are also some TeamViewer alternatives that provide a similar set […]
Safe CPU Temp – What Temperature Should my CPU be?
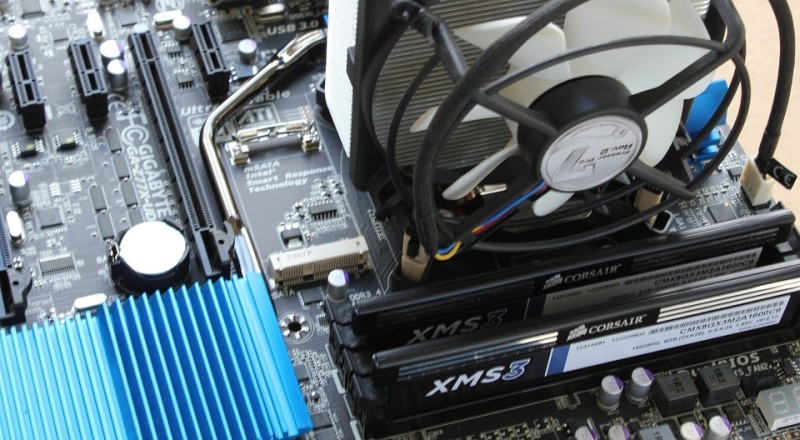
Computer CPU temperature is a constant cause of concern for gamers, power users and people who overclock their computer’s CPU. If you hear your system’s cooling fans start spinning faster it means your computer’s temperature (mostly CPU temp) has started to increase. A CPU temperature monitor tool (like the one we’ve described here) will come […]
5G Technology Development Set to Create Positive Technological Disruptions

Fifth-generation cellular network technology, also known as 5G, is a ground-breaking technological innovation which is poised to enhance existing broadband services. With the advent of 5G technology, the expansion of mobile networks which will support a varied range of devices and services is set to take place in the foreseeable future. On the other hand, […]
30 Best Safe and Legal Free Movie & TV Streaming Sites Online Right Now

There are dozens of websites that offer free movie and television streaming. However, not every site can be trusted. Some sites stream pirated content and are full of viruses and malware. If you want to remain safe while enjoying your favorite movies and TV shows, check out the following 30 free movie streaming sites online […]
SysTweak Advanced System Optimizer 3 Review – Is it the Best PC Tuneup Tool?
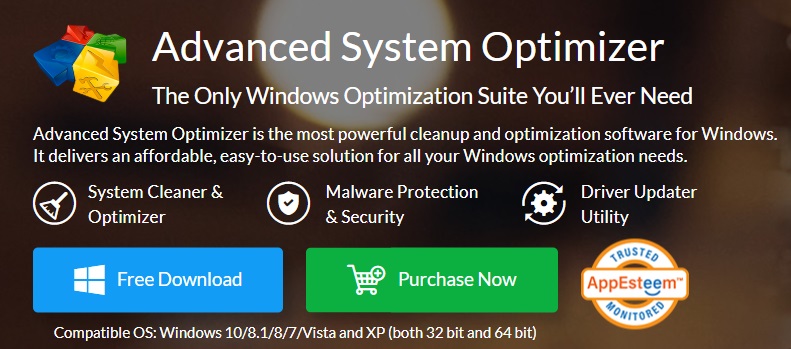
In this article I will try my best to offer you a comprehensive Review of “Advanced System Optimizer” including product features, advantages and disadvantages, actual user testimonials gathered from all over the Internet and much more. Read through the end to find out if this tool will satisfy your computer needs. What is Advanced System […]
10 Best Free Fax Online Services with no Credit Card Requirement
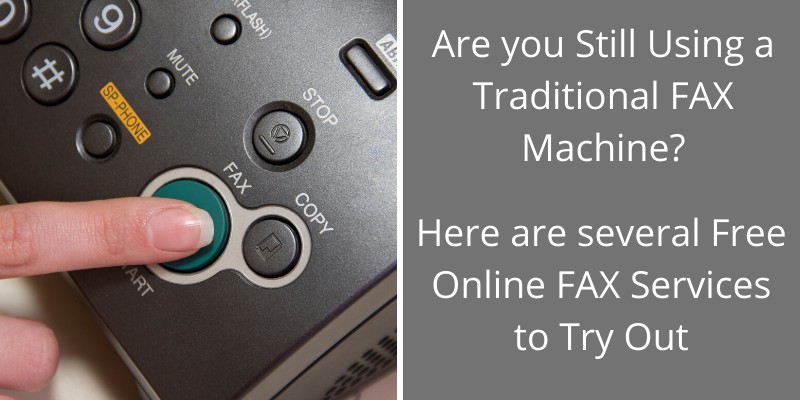
In the world of digital services, online faxing has become a part and parcel of modern Internet solutions. Rather than looking for a conventional fax machine, cranking through different settings, and hoping for the best, it’s time to look at the value of a world-class online faxing service. Image: DepositPhotos Usually these online fax services […]
15 Games Like Minecraft – Some Great Alternatives to Try Out

For the die-hard Minecraft fans, you probably know why gaming enthusiasts and critics alike have termed it as one of the most influential sandbox games ever created. The game lets you live in an infinite world, where you can create simple homes, castles, and many other blocky thrills. Minecraft ideally popularize the open-world survival-and-crafting genre, […]
Some Mobile Apps That You Need to Download to Fight Stress

It’s no secret that anxiety is so common but nevertheless extremely disruptive experience. Anxiety can make you feel like a loser and you end up having missed opportunities, sleepless nights, and feeling sick. If you are currently dealing with anxiety disorder, know that there are several ways to find help. You could reach out to […]
Which Products Will Rule The Consumer IoT Market in 2021?

IoT stands for the “Internet of Things.” It is a web of connected computing devices with the ability to collect and transfer data over a network without any human intervention. What’s An Iot Device? IoT devices are small interconnected physical devices with the ability to communicate with each other over a network. Active data […]