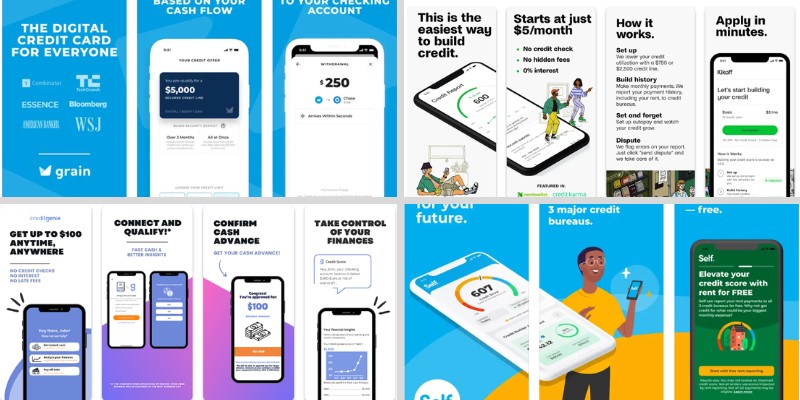
One of the popular financial apps is Grow Credit. The Fintech company uses a unique tactic to help members improve their credit scores. Grow Credit offers members a no-cost credit card to cover the cost of their online subscriptions, establish a solid payment history, and acquire a favorable history with all three major credit bureaus. […]
Question and Answers About the Meta (Oculus) Quest 3 VR Headset

In the ever-evolving realm of virtual reality, the Meta Quest 3 stands as a beacon of technological advancement, charting the course for the future of immersive experiences. Boasting a suite of groundbreaking features and improvements over its predecessor, this cutting-edge VR headset promises to deliver unparalleled levels of presence and interactivity. From gaming aficionados to […]
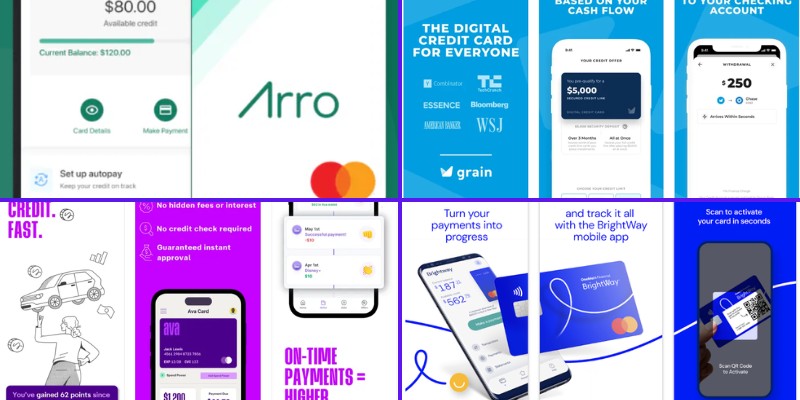
10 Apps Like Arro Credit Card to Build Your Credit Score
Fortunately, there are many options for folks who want credit cards without the typical hassles of filling out lengthy application forms, waiting for weeks to hear back from the issuers, and building credit by using the cards responsibly. One of the niche leaders is the Arro Credit Card. With an introductory interest rate of 16% […]
The Need for Speed: Is 100 Mbps Fast Enough for HD or 4K Streaming?

In today’s digital age, where our lives are increasingly intertwined with the internet, having a fast and reliable internet connection has become more important than ever. Whether we’re streaming our favorite shows, playing online games, or conducting business online, we rely on our internet service providers (ISPs) to deliver the speed we need to stay […]
10 Alternative Apps Like Katapult to Shop-Now-Pay-Later
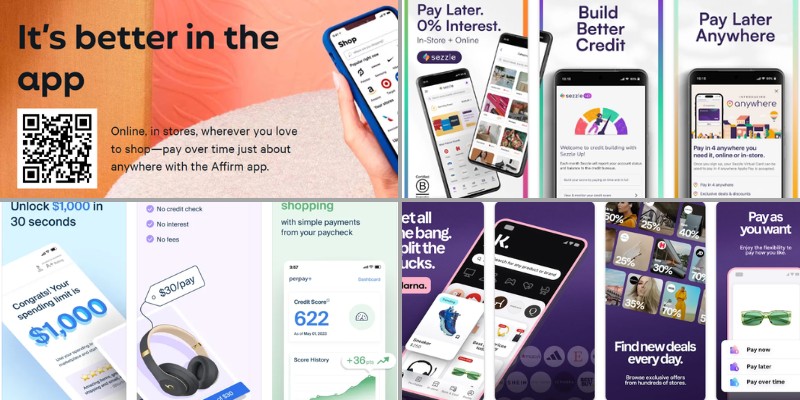
Buy-now-pay-Later (BNPL) apps are currently among the hottest items for consumers who like to save money on a wide range of items. For example, Katapult users can take advantage of lenient lease-to-own arrangements. The Katapult app gives financial freedom to buyers who don’t have credit cards or wouldn’t be able to borrow for major purchases. […]
What Does 5G UC/UW/E Mean on my Phone? Explanation and Discussion

Over the last few years, cellular companies far and wide have been busily integrating the latest in 5G technology into their networks. That’s good news, as 5G networks enable an array of new features, including download speeds up to 20 Gbps. That’s about 100 times faster than the previous cellular standard, 4G. Plus, 5G networks […]
Meaning of GPRS, E, H, H+, R, VoLTE on Your Phone – Decoding Network Symbols

When you use your phone to access the internet, you might notice different symbols appearing at the top of your screen. These symbols represent the type of mobile data connection your phone is currently using. Let’s go over the most common ones and what they mean: GPRS: This stands for General Packet Radio Service. It’s […]
15 Great Line of Credit (Cash Advance) Apps for Android and iOS
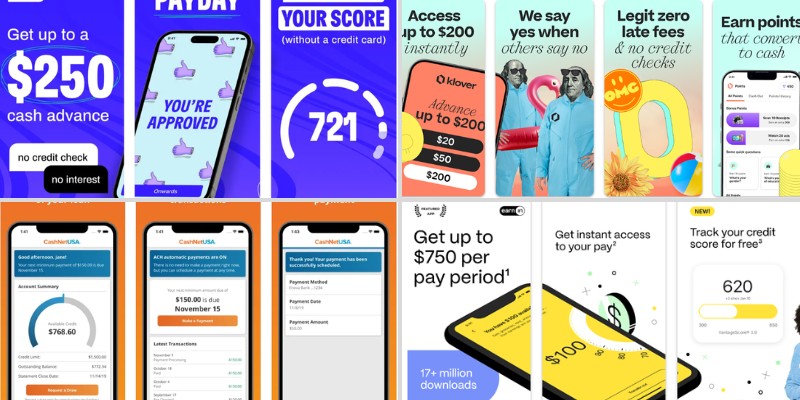
LOC (line-of-credit) apps, also called cash apps, are quick and convenient ways for users to get relatively small loans that they pay back within a few days or weeks. While there are downsides to the idea of obtaining money this way, most of the apps are wildly popular with people under 30 as well as […]
Some Advantages and Disadvantages of Apple Smart Watch (Includes Latest Series 9 Model)

There’s no denying the popularity of the Apple Watch. It’s one of the most-used smartwatches on the market today with the latest being the Series 9 models. Although millions of people wear and enjoy the smartwatch, this isn’t for everyone. In the article below we’ll address both the pros and cons of the Apple Watch […]
The Crucial Role of Motherboard Chipsets in Your Computer
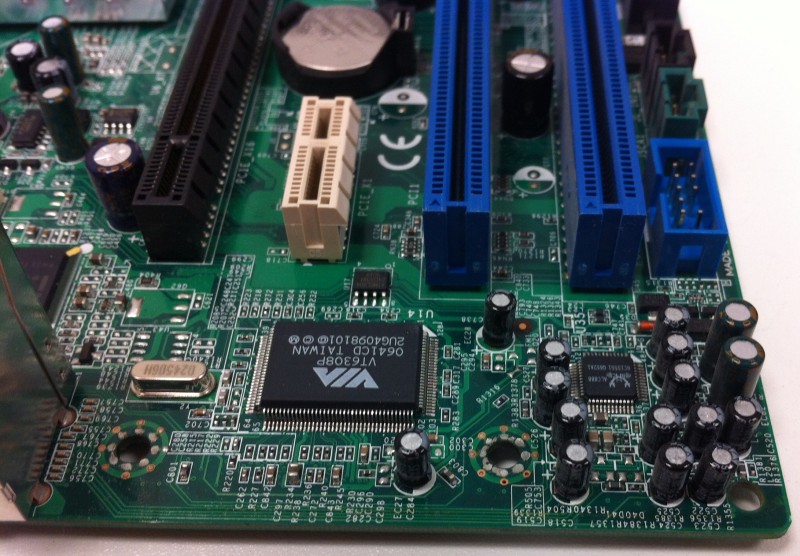
As technology rapidly advances, it’s easy to get caught up in the frenzy of faster processors, larger storage capacities, and high-resolution displays. However, one fundamental yet often overlooked component plays a vital role in maximizing the overall performance of your computer: the motherboard chipset. In this blog post, we will delve into the world of […]